
Chair Cushion Tutorial


We have a "new" highchair in our kitchen! But this isn't just any highchair, it's an heirloom. My dad is the youngest of 3, and he and his 2 brothers used it when they were children! I am so happy my kids get to use it now as well! The chair was in it's original condition when we got it, which wasn't terrible, it's still very solid. Evan used it for about 2 years just like it was. The finish however, had worn off completely in places, so I wanted to refinish it to protect it. I decided to give it a face-lift and paint it a fun, happy color!
I decided to make a fun little cushion for it too. Since Olivia is using it these days, I decided to make it a bit girly. Because girly is just so fun. :)

Today I am going to show you how I made the chair cushion.
First you will want to measure your seat to see what size you will need the finished cushion to be. Since my seat was pretty much square, I could just measure. But if your seat has angles or curves I would suggest making a pattern by tracing the shape onto paper.
I measured from front to back...

And across.

The finished size of the cushion needed to be 10 1/2" x 11 1/2". So to that we need to add 1" all around to accommodate for filling the pillow and also add 1/2" for seam allowance. So my front and back pieces needed to be 12" x 13".
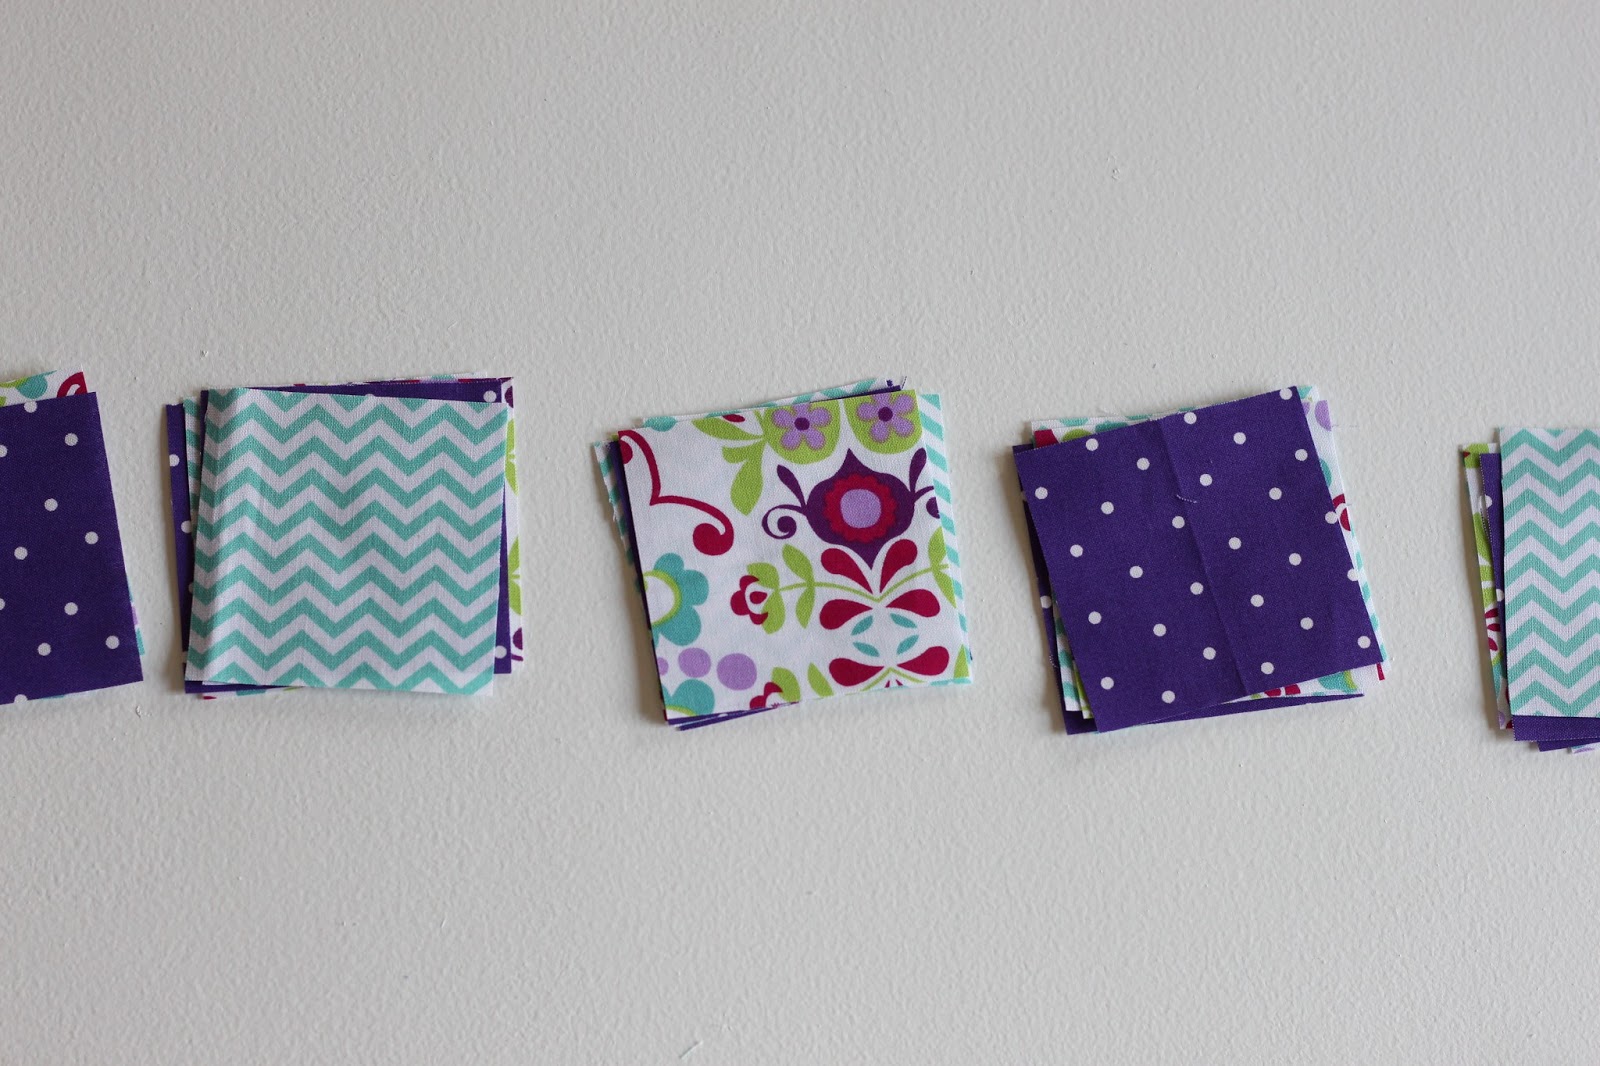
I decided to do a patchwork for the top side of the pillow. I just randomly decided to cut 3" squares and then figured out how many squares I would need to end up with roughly the size I needed for the front piece.
I began cutting my squares.

They look so pretty :)

Then I laid them out into a pattern that I liked.

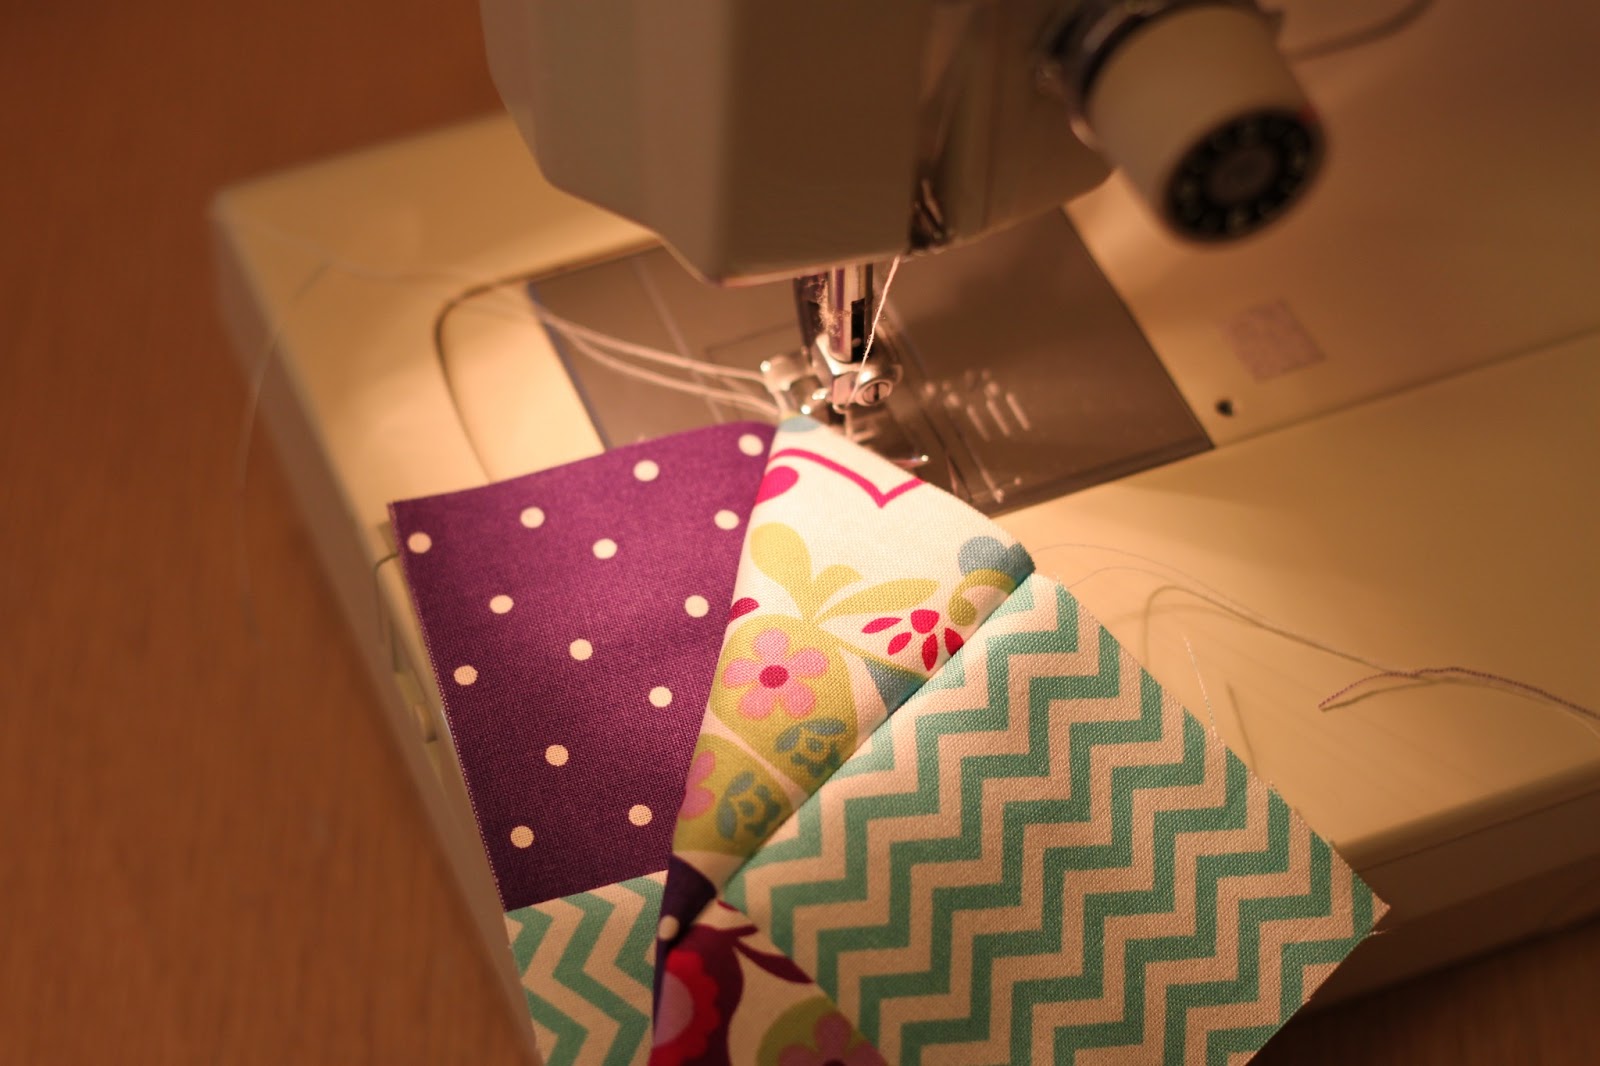
Stack each row into a pile in the order they need to be sewn together.
Sew together using a 1/4" seam allowance.

Press the seams of all the rows in the same direction.

Once you have all the rows sewn, stack them in the order they need to be sewn again.

Then take them to the machine and sew, making sure to always sew right sides together.
Then again, press all the seams in one direction.

And the patchwork is done! So pretty and fun! :)

See how neat the back looks when you press all the seams in the same direction? This helps it to lay nice and flat from the front as well.

My finished piece was a little bit too large so I had to cut a little from each side.

Then I laid my front and back pieces together and rounded the front edges. I find tracing around something works best for me. My free-handed curves and circles just don't cut it. :)

Cut around the curves you just traced.

I wanted some way to keep the cushion attached to the seat so it wouldn't slide around too much, my chair has a solid back all the way down to the seat so I had to make a long strap to go all the way around. To make this I cut out 2 strips, 2 1/2" x 11".

Press the strips in half, right sides together.

Sew one end and down the side, to create a tube.
Then use this super awesome tool. Seriously, if you don't have one, you need to run and get one! It makes turning tubes of fabric a BREEZE! What would normally take me 20 minutes and give me very sore hands, now takes 30 seconds! It can be found at Joann's and if you use a coupon, it's a few dollars!

See how awesome!?!

Then after pressing again, you have a beautiful strap.

Top-stitch the edges.

Sew around the front and sides of your pillow pieces. I chose to use piping to finish it off.

Insert the straps into the pillow "case" and leave about 1 1/2" out from the edge.

Sew the top of the pillow case closed using 1/2" seam allowance, leaving an opening large enough to turn it right side out and also for putting in the filling. I left an opening roughly 4".

Then you have a pillow ready to stuff!

Now is a good time to decide where you will want to put your buttons, that will finish off your pillow. If you are not doing a patchwork I would suggest measuring and marking where you will want them. Since mine was a patchwork I just eyeballed to see what would look good. I used pins to help me visualize.

Next step is to fill it up!

Then hand stitch the opening shut. I found this tutorial to be very helpful on how to do an invisible ladder stitch.

Now sew on the buttons!! I used covered buttons on the front side.

And coordinating buttons from my stash for the back.

I used this vintage upholstery thread to attach the buttons. The thickness of the thread makes me feel good about the security of the buttons. Pretty sure they're not going anywhere. :) You can read about where the thread came from here.

I sewed velcro dots to the straps as a closure.


And now you're done!!

Enjoy your fun and pretty pillow!
Happy Sewing!!
Linking up here:
Not Just A HousewifeNap-Time Creations
Sugar Bee Crafts
Funky Polka Dot Giraffe
Smart Schoolhouse
Lil Luna
Someday Crafts
Ginger Snap Crafts
Artsy Fartsy Mama
Live Laugh Rowe
Lamberts Lately
Mom On Timeout
A Glimpse Inside
Create Craft Love
Happy Hour Projects
Love and Laundry
Jennifer Rizzo
Tatertots & Jello
It's Overflowing
I Heart Naptime
Get Your Crap Together
Flamingo Toes
Three Mango Seeds
Piggy In Polka Dots
Craft O Maniac
Sew Can Do
My Fashion Forward Blog
Six Sisters Stuff
Better With Age
Huckleberry Love
Sumo's Sweet Stuff

your tutorial is so beautiful! m really impressed you, you did an amazing work. Leather Button Beds
ReplyDelete