Zonen 09 Charlie Flip

I'm sharing my full post and a bit of a tutorial on the process of how I flipped the Charlie pattern for my little miss.
Also, voting has opened today, so you can head over to Frances Suzanne and vote for your fave. AFTER reading how I did my flip of course ;) I'd loooove it if you would vote for mine, so in other words, I'm hoping mine is your fave!
So let's talk a little bit about the flip...

The Charlie pattern is truly adorable as is, so I had to think a bit about how I wanted to flip it. Since I decided to make it for my girl I wanted to change the silhouette a bit to make it more "girly".
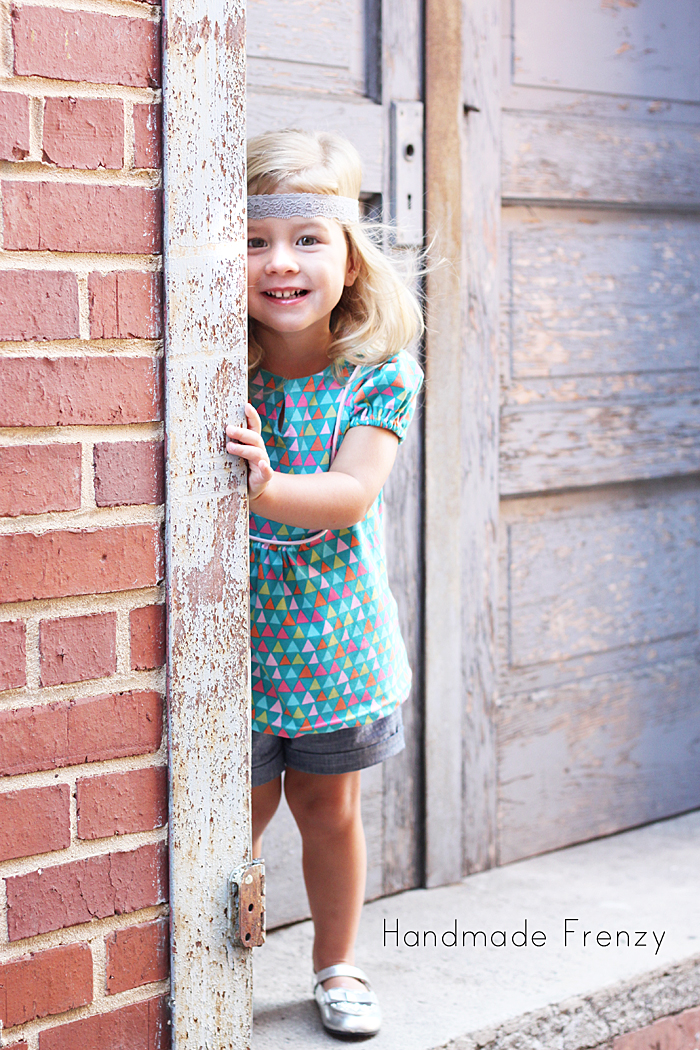
To do this I eliminated the band at the bottom of the shirt and lengthened the bodice to accommodate that change and then flared the hem out a bit to an a-line shape.

The next thing I did to flip it, was to add a cutout in the bodice and trim it with piping.

First I printed the pattern, then drew the changes directly onto that, and highlighted my new bodice shape for easy tracing.

Next I traced the pattern onto tracing paper, adding seam allowances to both the bodice cutout piece and the bodice.
A very important step that I don't have a photo of, so sorry, is to add a few inches to the width of the center front bodice so that it can be gathered. I added 3 1/2 inches that I then gathered just in the center below the cutout.

Next, baste piping to the bodice around the cutout, then insert the cutout, sandwiching the piping between, pin and sew. Flip the SA to the outside and topstitch.

A fun and pretty simple change that adds a lot of impact!

Another flip element was that I eliminated the collar. I didn't make any other changes to the shape of the neckline, keeping the signature slit. I chose not to line my Charlie and instead opted to use knit bias tape. I followed this recipe for starching jersey knit and it worked super well! I used a 1" strip of jersey for the binding and attached it using this, no-pre-ironing method. So awesome. For reals.
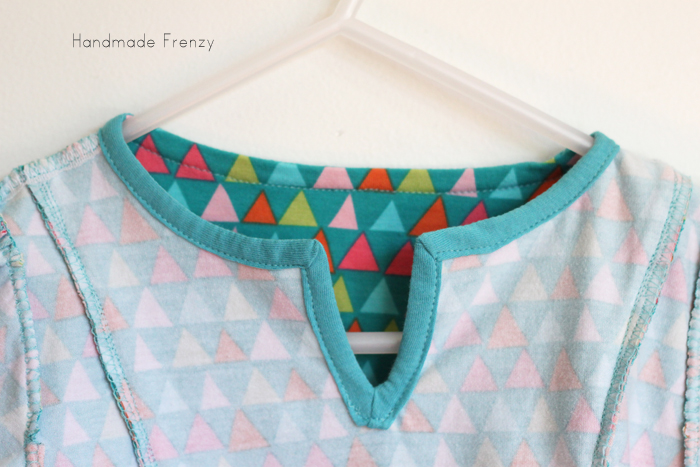
I like the clean finish it gave.
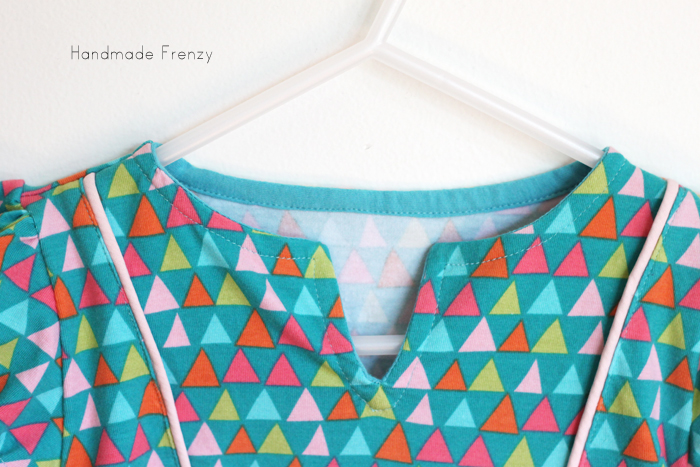
The next change is the sleeves. To create these I simply enlarged the sleeve pattern and gathered it at the top. Then I made a casing at the bottom and threaded 1/4" elastic through for the perfect amount of "poof".

I kept the back simple, the only change being the a-line shape.

So there you have it! All the changes I made to create this fun, summer top for my little lady!
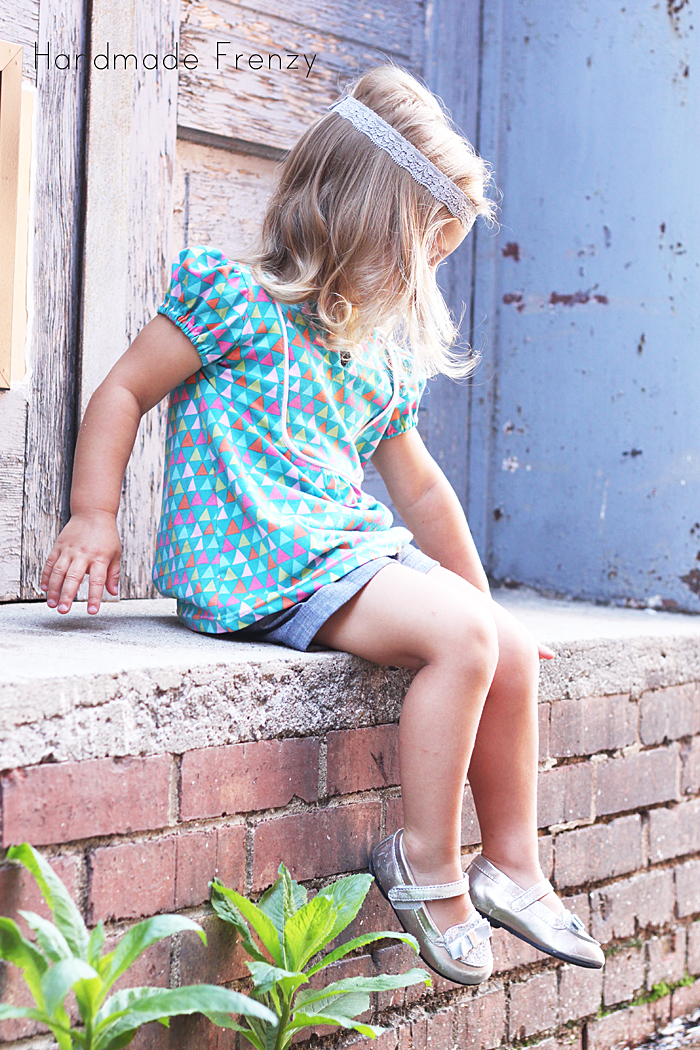


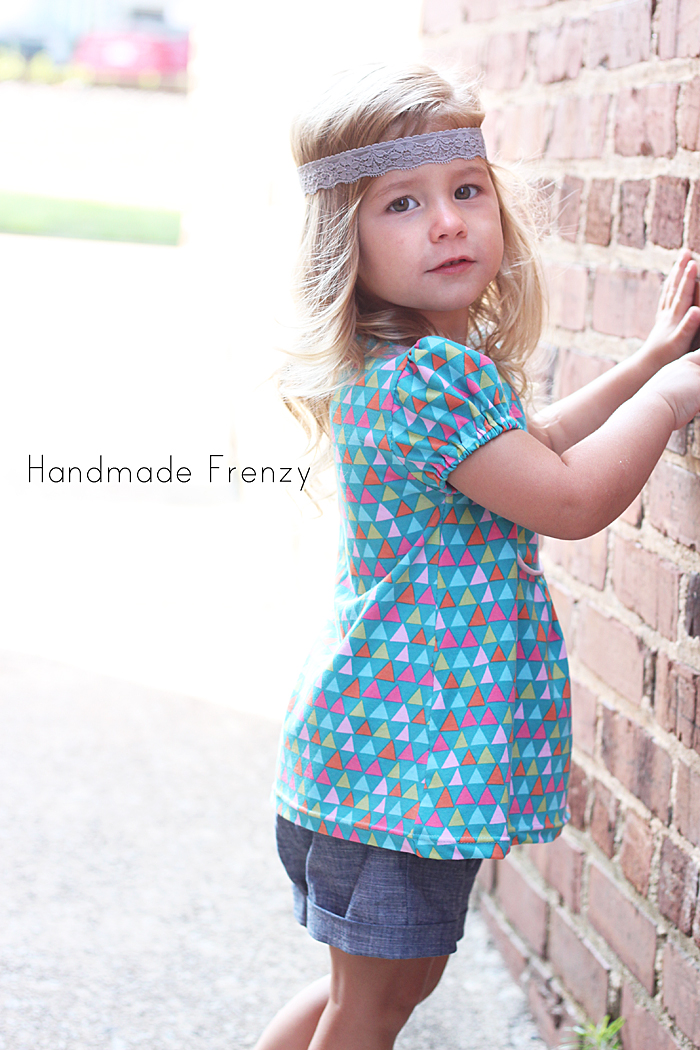

We would love, love, LOVE your votes!!!
Voting opens NOW and only runs through tomorrow, 6/28, so head over here to vote for your favorite!



 Motherhood & Sewing // #easeintomotherhood
 Summer Swimwear Tour 2016 // Classic Maillot
 Cozy Knits for Fall // Sewing For Kids
Heidi, what a lovely flip you have made!
ReplyDeleteI love everything about your daughters outfit!
Good luck!
Thank you so very much, Marta!!
DeleteFantastic top Heidi! Adding the piping was a brilliant idea, and those little gathered sleeves - so cute!!
ReplyDeleteThanks Renee!!
DeleteSimply adorable!! And look at that rock star finish - wooohoooooo.
ReplyDeleteWooHOO!! High praise and I'll take it ;) Thank you so much Mie!
DeleteI love this, Heidi! Adorable!
ReplyDeleteThank you Olga! :)
Deletethis is so so gorgeous!! love your alterations and fabric.
ReplyDeleteThank you!! I was hoarding this fabric for just the perfect project and I think it fit quite nicely to this one :)
DeleteDarling design and lovely daughter! I think something ate my last comment?
ReplyDeleteThank you Justine! This is the only comment I saw anyway :)
DeleteGreat job! What a fantastic top!
ReplyDeleteThank you Elisa!! I do pretty much adore it :)
Delete